Installing a Two-Way Shade for Privacy AND a View
Our master bathroom has a window in the water closet that looks out to the backyard. Zach loves being able to scope out his backyard from that angle every day, but here’s the problem... with the honeycomb blinds that were on that window (I’m sure I didn’t even have to tell you that and you already knew it) he was always leaving the blinds wide open. What’s the problem with that? Well, it’s right outside our shower. Not a problem for him, but I had a problem walking past an open window to the shower every day. Get my drift?

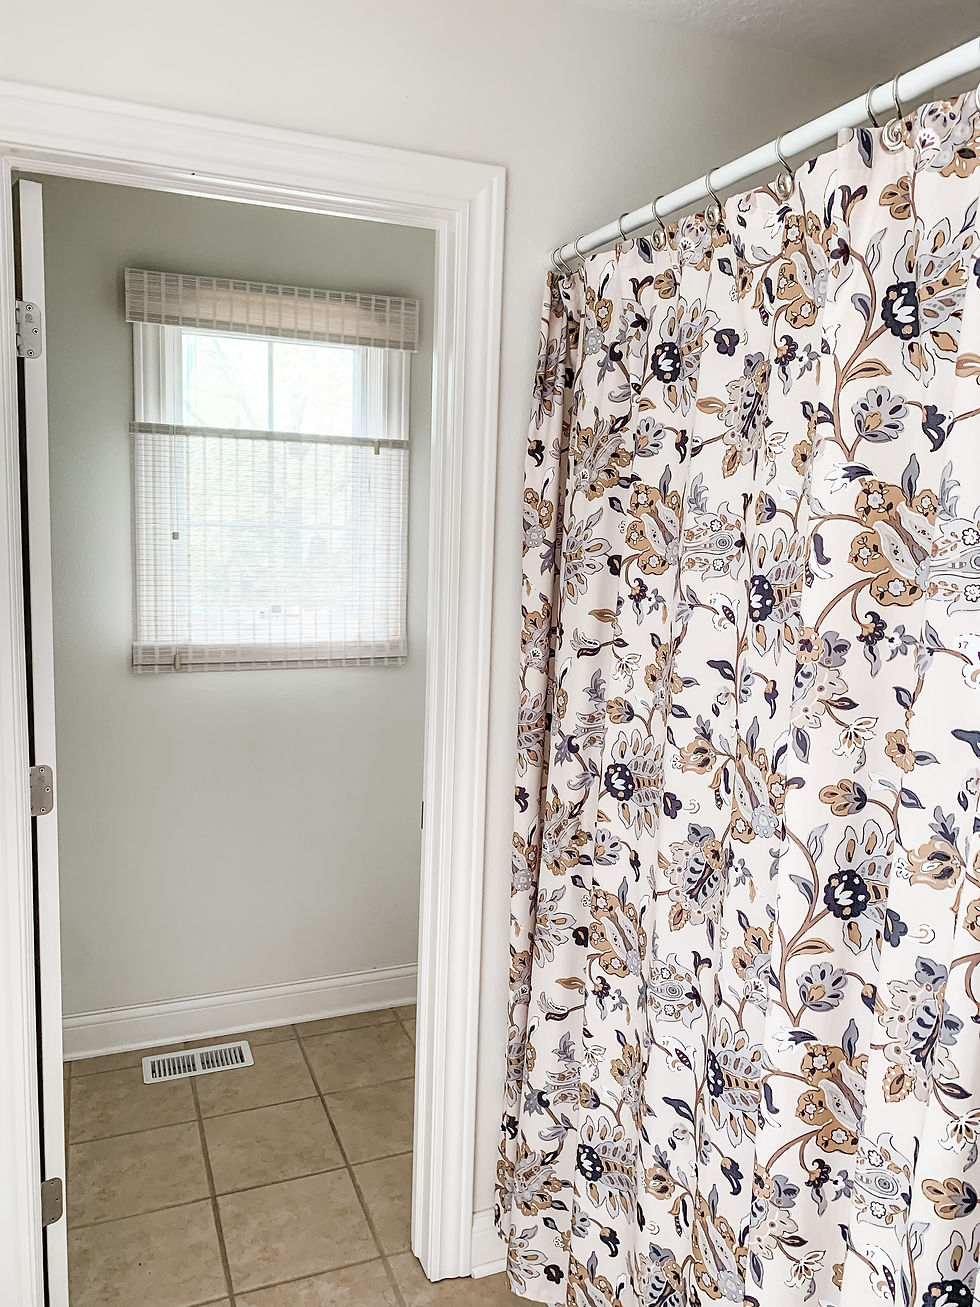
He SWEARS no one can see in, but it bothered me just knowing it was possible. So, I started the hunt for a better option and found a two-way shade online that would allow Zach to open the shade from the top of the window so he can bask in all his backyard glory, while leaving the bottom down for privacy.
I chose a white woven wood roman shade from Blinds.com and ordered it wide enough to cover the entire window molding. Our bathroom sits in the same category as our master bedroom right now ... just fix the things that bother me most, then we’ll tackle the color later. I just wanted something neutral to blend in. This shade had an interesting hardware set-up with a funny twist-on nut and bolt situation but wasn’t too challenging to install.

The shade can raise and lower from both the top and the bottom which gives us both exactly what we want.

It’s great to have options for both privacy and a view!


I will say, the cord situation is a little much. I get that we asked for double the mechanism, but when fully extended, the cords get pretty long. It came with a small cord wrap piece to install next to the window, but since it’s just in our water closet, I decided to wait and not install that for now.

Another day, another old honeycomb blind kicked to the curb!
Need a fix-up? Here’s what we used:
*DISCLAIMER: This post contains affiliate links, which means that if you click on one of the product links, we may receive a small commission at no extra cost to you. Thank you for your support!

Comentarios